
ANSYS Example of manual mesh refinement. Reducing the element size is termed 'h-refinement'.
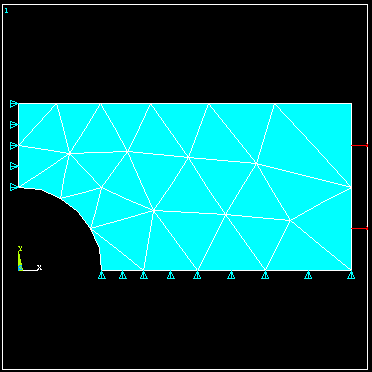
We use the quadrant of a plate with hole to illustrate the ideas. Use the default settings to create the mesh shown below. Apply displacement and pressure boundary conditions and solve to obtain the Sigma-x plot shown. (See the Plane Stress Example if necessary.)
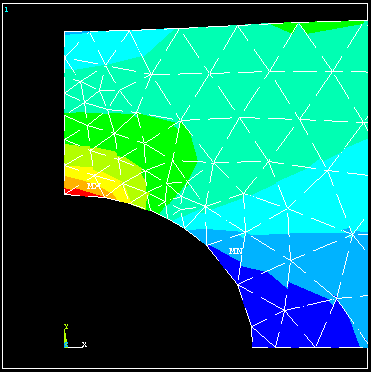
The large differences in stress contor plots accross element boundaries is judged to indicate unacceptable accuracy in the results. To use the 'refine' option in the preprocessor, first the loads (boundary restraints and applied pressure) must be removed.
Preprocessor -> Loads -> Delete -> All Load Data -> All Loads & Opts.
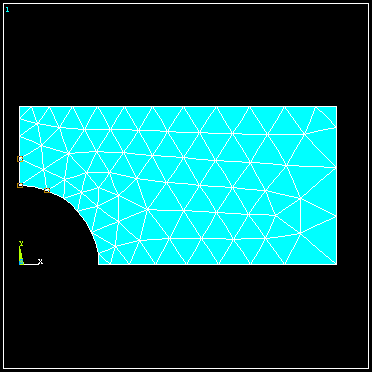
For uniform mesh refinement,
Preprocessor -> Refine -> All (All elements are subdivided, and the mesh shown below is created.)

To refine the mesh selectively,
Preprocessor -> Refine -> Nodes (Select the three nodes near the point of highest stress.)
Local refinement then produces the following mesh.

You must now apply displacement and pressure boundary conditions to the new mesh. Solution then gives the Sigma-x plot shown next.
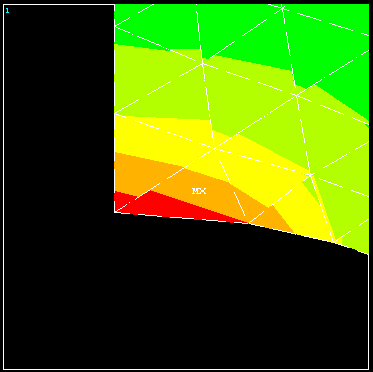
The stress contors are much smoother than those from the first mesh. The process may be repeated to obtain further accuracy.
Last updated 10-14-98